Automated Seed Planter
Introduction
Concept Generation

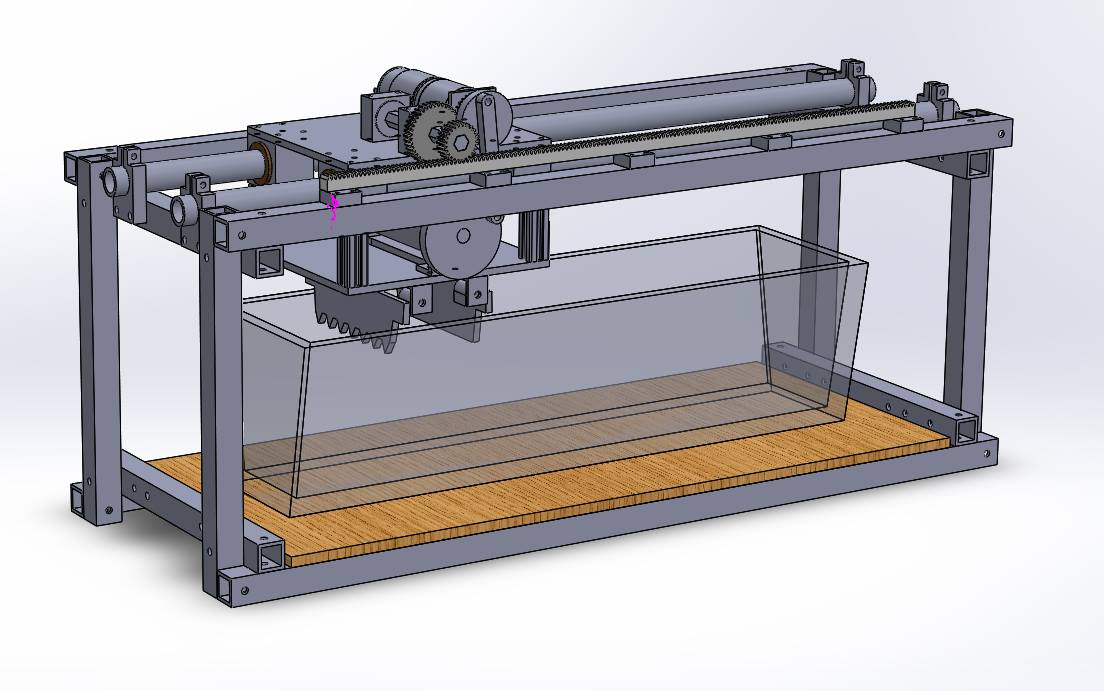
The final CAD model of the machine
Mechanism Analysis
We used a number of analytical techniques to validate the mechanism design. We had to account for linkage lengths, torque required, motor speed, gear ratios, and the frequency with which seeds are dispensed.
The Mechanism

Close up of the seed dispenser. The outer sheath is transparent for clarity in seeing how the seeds are moderated through the hopper.

Detailed view of how the motor powers the 4-bar mechanism along with moving the entire mechanism along the track.
Fabrication
We wanted to machine the majority of the parts on our own in order to develop our machine shop skills. While this was very useful in learning about machining, we sacrificed a lot of time when we could have pursued other options, such as CNC machining using the waterjet machine.
Most of the metal that we machined was 6061 aluminum. We chose to use this type of aluminum for its rigidity over plastic and its light weight and cost efficiency over steel. It was also readily available in multiple shapes that we needed, giving it an advantage over wood.

Photo of the frame being milled to fit the screws.

The frame during the build. The platform that holds the motor and gears sits on pillow-block bearings that slide along two tubes.

The ABS seed hopper. These parts were 3D printed because of their complex shapes. The hopper rotates in the sheath and when the hopper holes align with the sheath slot, the seeds will fall.

To move the mechanism back after the seeds were planted, we created a gear that could be disengaged from the track in order to move the entire system to the beginning of the track.
The Final Product

Key Takeaways
The seed planter worked fairly well but instead of powering the motor using a wall plug, we used a number of AA batteries. The motors drained the batteries in a matter of minutes and so in a future iteration, we would step down the wall plug voltage in order to have a more reliable power source.
The biggest takeaway was to keep the design simple and design around manufacturability.
Though I became thoroughly experienced with machining, we could have saved a huge amount of time if we produced our parts using a waterjet instead of manually machining them. We also could have saved a lot on the cost if we looked into using other materials other than aluminum. For the platforms, plastic or wood would have done just as good of a job and those were both cheaper, and lighter, options.
